
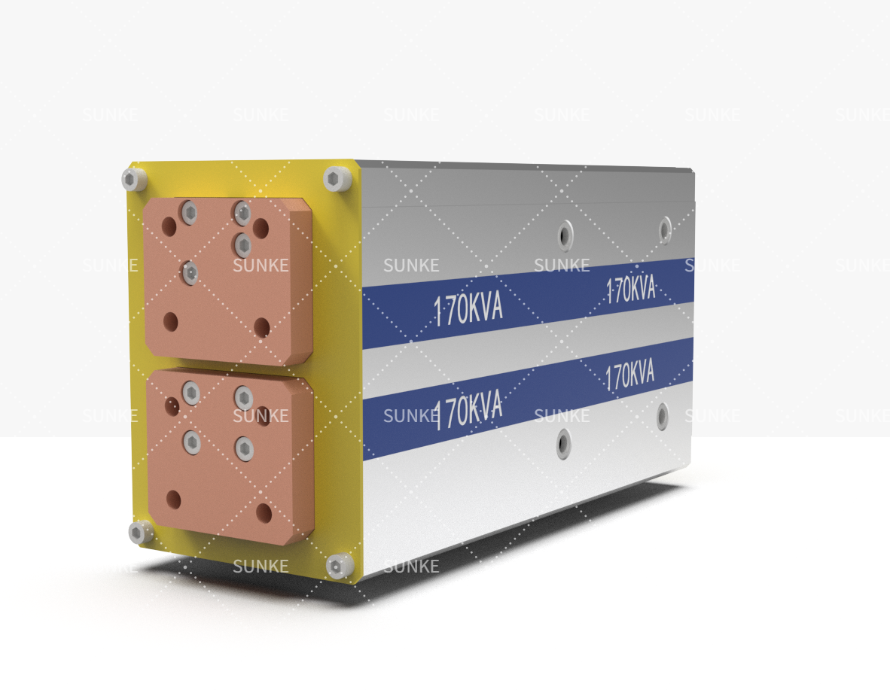
When transformer choices blow the budget
You’re staring at a bid that looks reasonable until the first production hiccup — then costs climb fast. The core problem usually isn’t a single line item. It’s the way the transformer’s specification interacts with the rest of the setup, especially the resistance welding controller and how signals pass through the welding control system. I’ve overseen shop-floor upgrades for over a decade, and I use that experience to point out the exact places projects go off-plan and how to stop it early.
Primary cost drivers you’ll face
– Transformer sizing: undersized units increase cycle time and scrap; oversized units add unnecessary capital cost. – Peak current capability: affects weld quality at high throughput. – Duty cycle and cooling: inadequate cooling leads to premature failure and maintenance bills. – Integration complexity: custom interfaces between transformer, controller, and PLC add engineering hours. – Energy and power-factor penalties: inefficient setups raise ongoing utility costs. – Spare parts and serviceability: long lead-time parts amplify downtime expense.
How these drivers interact — the real problem pattern
Costs compound when drivers collide. A marginally cheaper transformer forces the controller to drive near its limits. That raises thermal stress, increasing maintenance frequency. Short-term savings become long-term waste. Match ratings, waveform capability, and thermal design to your production profile. Don’t buy components in isolation.
Step-by-step practical choices that reduce total project value (the right way)
1) Define throughput and worst-case weld parameters first. 2) Specify transformer peak current and duty cycle to meet that worst case. 3) Confirm the controller can deliver the required waveform and timing without workarounds. 4) Verify cooling and enclosure specs for local ambient conditions. 5) Add service access and spare-part planning into the purchase order. 6) Validate with a short pilot run before full installation. Follow those steps and you avoid surprises that derail budgets.
Common mistakes that drive unexpected costs
– Choosing by price alone and ignoring duty cycle. – Assuming standard control interfaces will fit custom jigs. – Skipping on cooling to save upfront cost. – Not budgeting for commissioning time or PLC integration. – Underestimating training needs for operators and maintenance staff.
A field example that ties it together
I saw a clear example at a Detroit-area automotive plant during a model ramp-up: a transformer rated for average loads was paired with a controller configured for aggressive short-cycle welding. The result was higher scrap rates and frequent trips while teams re-tuned parameters. Replacing the transformer with one sized for peak current and adjusting controller timing reduced stoppages and saved far more than the replacement cost in the first month.
Quick checklist before you buy
– Confirm peak and continuous current requirements. – Match controller waveform and timing capabilities. – Specify cooling for local temperatures and shift patterns. – Require accessible service points and documented spare parts. – Plan a pilot run with production tooling on-site.
Pulling this into project value
You can’t treat the transformer as a commodity if you care about total project cost. Pick a unit that fits your weld profile, make sure the controller and transformer communicate cleanly, and plan for maintenance and spares. That approach turns what usually becomes a budget problem into predictable value — the kind of practical reliability I trust from teams who’ve focused on compatibility and maintainability, such as those at Sunke.