
Introduction — a shed, some figures, and a straight question
I was standing in a damp milking shed at dawn, watching cows drift toward the feed trough like they’d been called by habit. Research says good light can lift milk yield by around 8–12% and improve cow health markers — so what are we leaving on the table? In that shed we were fiddling with timers and old bulbs; that’s where cow lighting shows its teeth (and, honestly, its charm). The scene matters: animals move differently under steady light, and staff work better when fixtures don’t flicker. So — how do we get consistent results without blowing the power bill or upsetting the herd? Let’s break it down and keep it simple; I’ll walk you through what I’ve seen work and what I wouldn’t touch with a barge pole. Moving on to the deeper bits now.
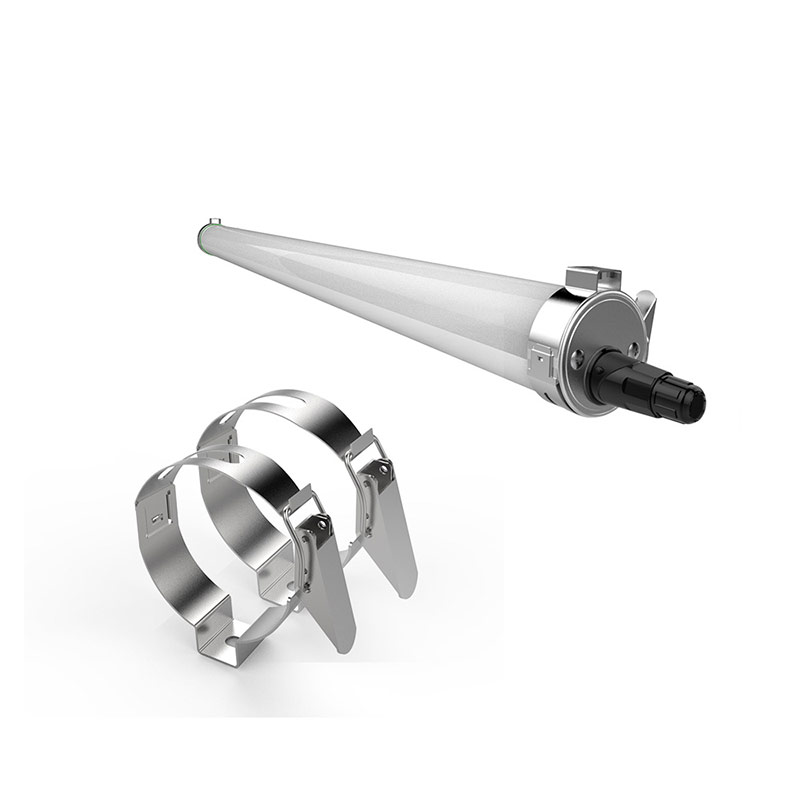
Why traditional fixes for cattle shed lighting often fall short
What’s the real problem?
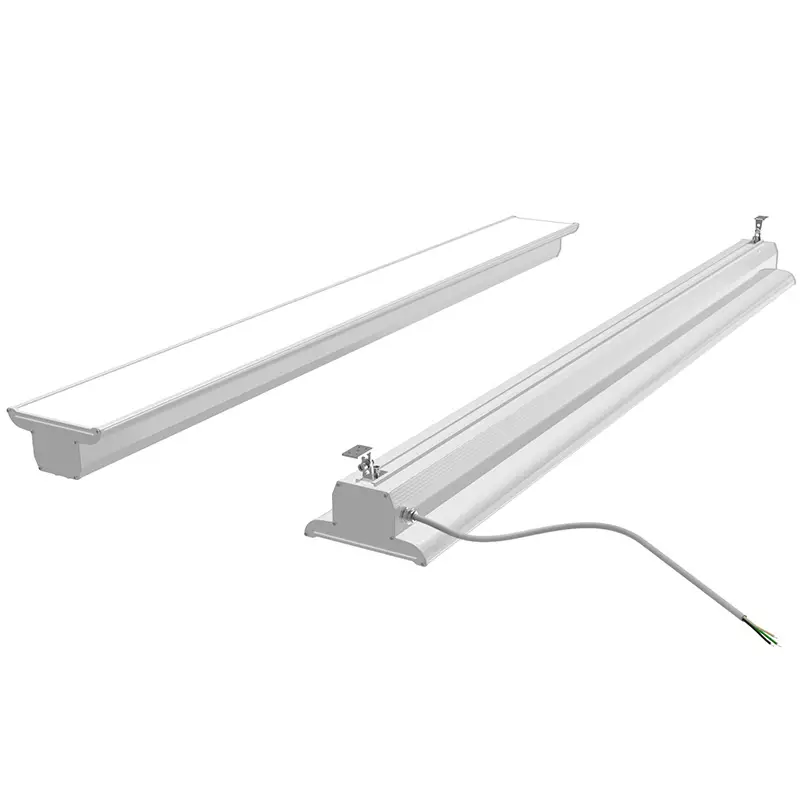
We often retrofit sheds with cheap LEDs, slap in a timer and call it a day. But there’s more to it. First, many older setups ignore lumen distribution and CRI (colour rendering index), which matter for cow behaviour and worker visibility. Second, poor LED drivers and ageing power converters cause flicker and voltage swings — these stress cattle and shorten equipment life. I’ve seen lights that meet wattage specs but fail where it counts: steady photoperiod control and even lux across the bedding and feeding areas. Look, it’s simpler than you think — a few poorly chosen fixtures ruin what could be a well-crafted system. — funny how that works, right?
Another snag is control logic. Farms try timers alone, but modern herds benefit from adaptive schedules tied to milking and feeding. Edge computing nodes can help by managing local sensors and dimming in real time, yet most farms haven’t adopted those controls because they fear complexity. The result: uneven light, restless cows, and avoidable maintenance bills. I say we stop guessing and start measuring lux, CRI, and run-time cycles. Then we match LED drivers and power converters to the actual load and environment. That change reduces flicker, improves longevity, and keeps the herd calmer — which, frankly, makes my mornings easier too.
New principles for better cattle shed lighting and three practical metrics
What’s Next?
Looking forward, I favour two sensible principles: design for behaviour, and design for control. When we plan cattle shed lighting, we should map activity zones (feed, loafing, milking) and specify lumens and CRI for each. Next, pair fixtures with robust LED drivers and reliable power converters so outputs are steady. Then add smart control layers — not because they’re flashy, but because they let us set photoperiods, dim during rest, and ramp up before milking. I’ve tested simple setups with edge computing nodes that handle sensor inputs and adjust light smoothly; the herd settled faster and milk flow stabilised. It’s pragmatic. We’re not chasing gimmicks.
So here are three evaluation metrics I use when choosing a system — practical, measurable, and farmer-friendly. First: steady-state lux across zones (how even is the light?). Second: flicker index and LED driver compatibility (does the light stay stable under normal voltage swings?). Third: control granularity — can the system set photoperiods and link to routines without a technician every week? Use these, and you’ll cut downtime and improve animal comfort. Final note: small steps add up — better planning, better parts, smarter controls — and you’ll see the difference. For tools and product choices, I’ve found good matches at szAMB. Give it a go; I reckon you’ll notice the change in a couple of weeks.